
Ensuring that your home is clean and hygienic is more important than just maintaining appearances. A healthy home environment can fend off illness and allergies, safeguarding the well-being of your loved ones. Unfortunately, some of the dirtiest spots in your home are also the most often overlooked areas or neglected areas when it comes to cleaning. This guide uncovers 10 of the most surprising hotspots for germs and bacteria and offers step-by-step instructions on how to effectively clean them.
The Unsanitary Sponge Dilemma
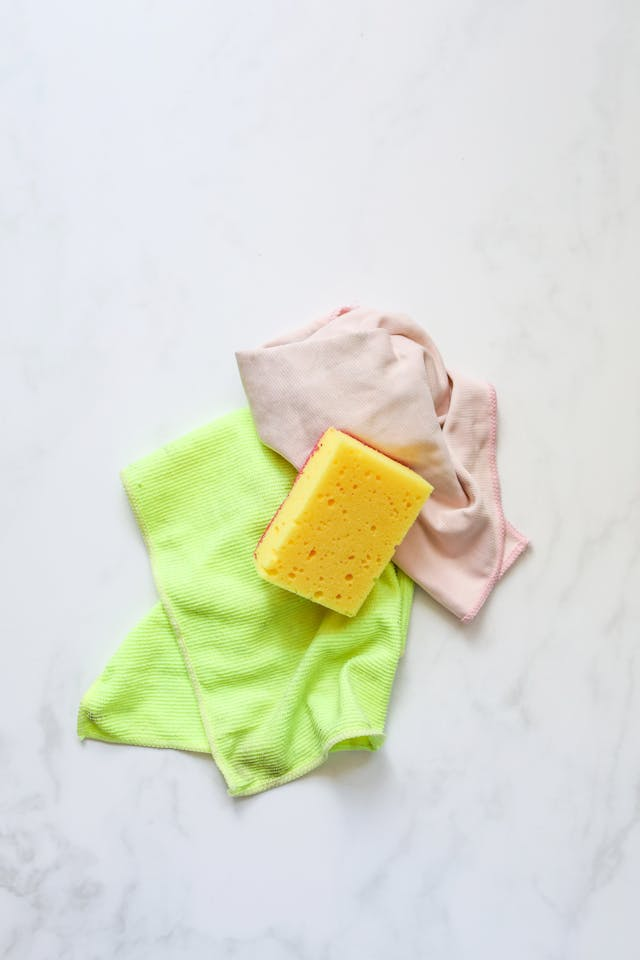
Why It’s Dirty: Studies have found that the beloved kitchen sponge can be a breeding ground for bacteria, with more coliform bacteria counts than your toilet. The moist and warm environment of kitchen cleaner is the perfect breeding ground for germs to thrive. Additionally, using a dirty kitchen sponge to clean surfaces can spread bacteria rather than eliminating it.
Cleaning Strategy:
Microwave Method: Place a very damp cloth or damp sponge back in the microwave for 2 minutes to kill germs.
Alternate Method: Disinfect by soaking in a solution of 1 part bleach to 9 parts water for 5-10 minutes, then rinse thoroughly.
Alarming Appliance Handles
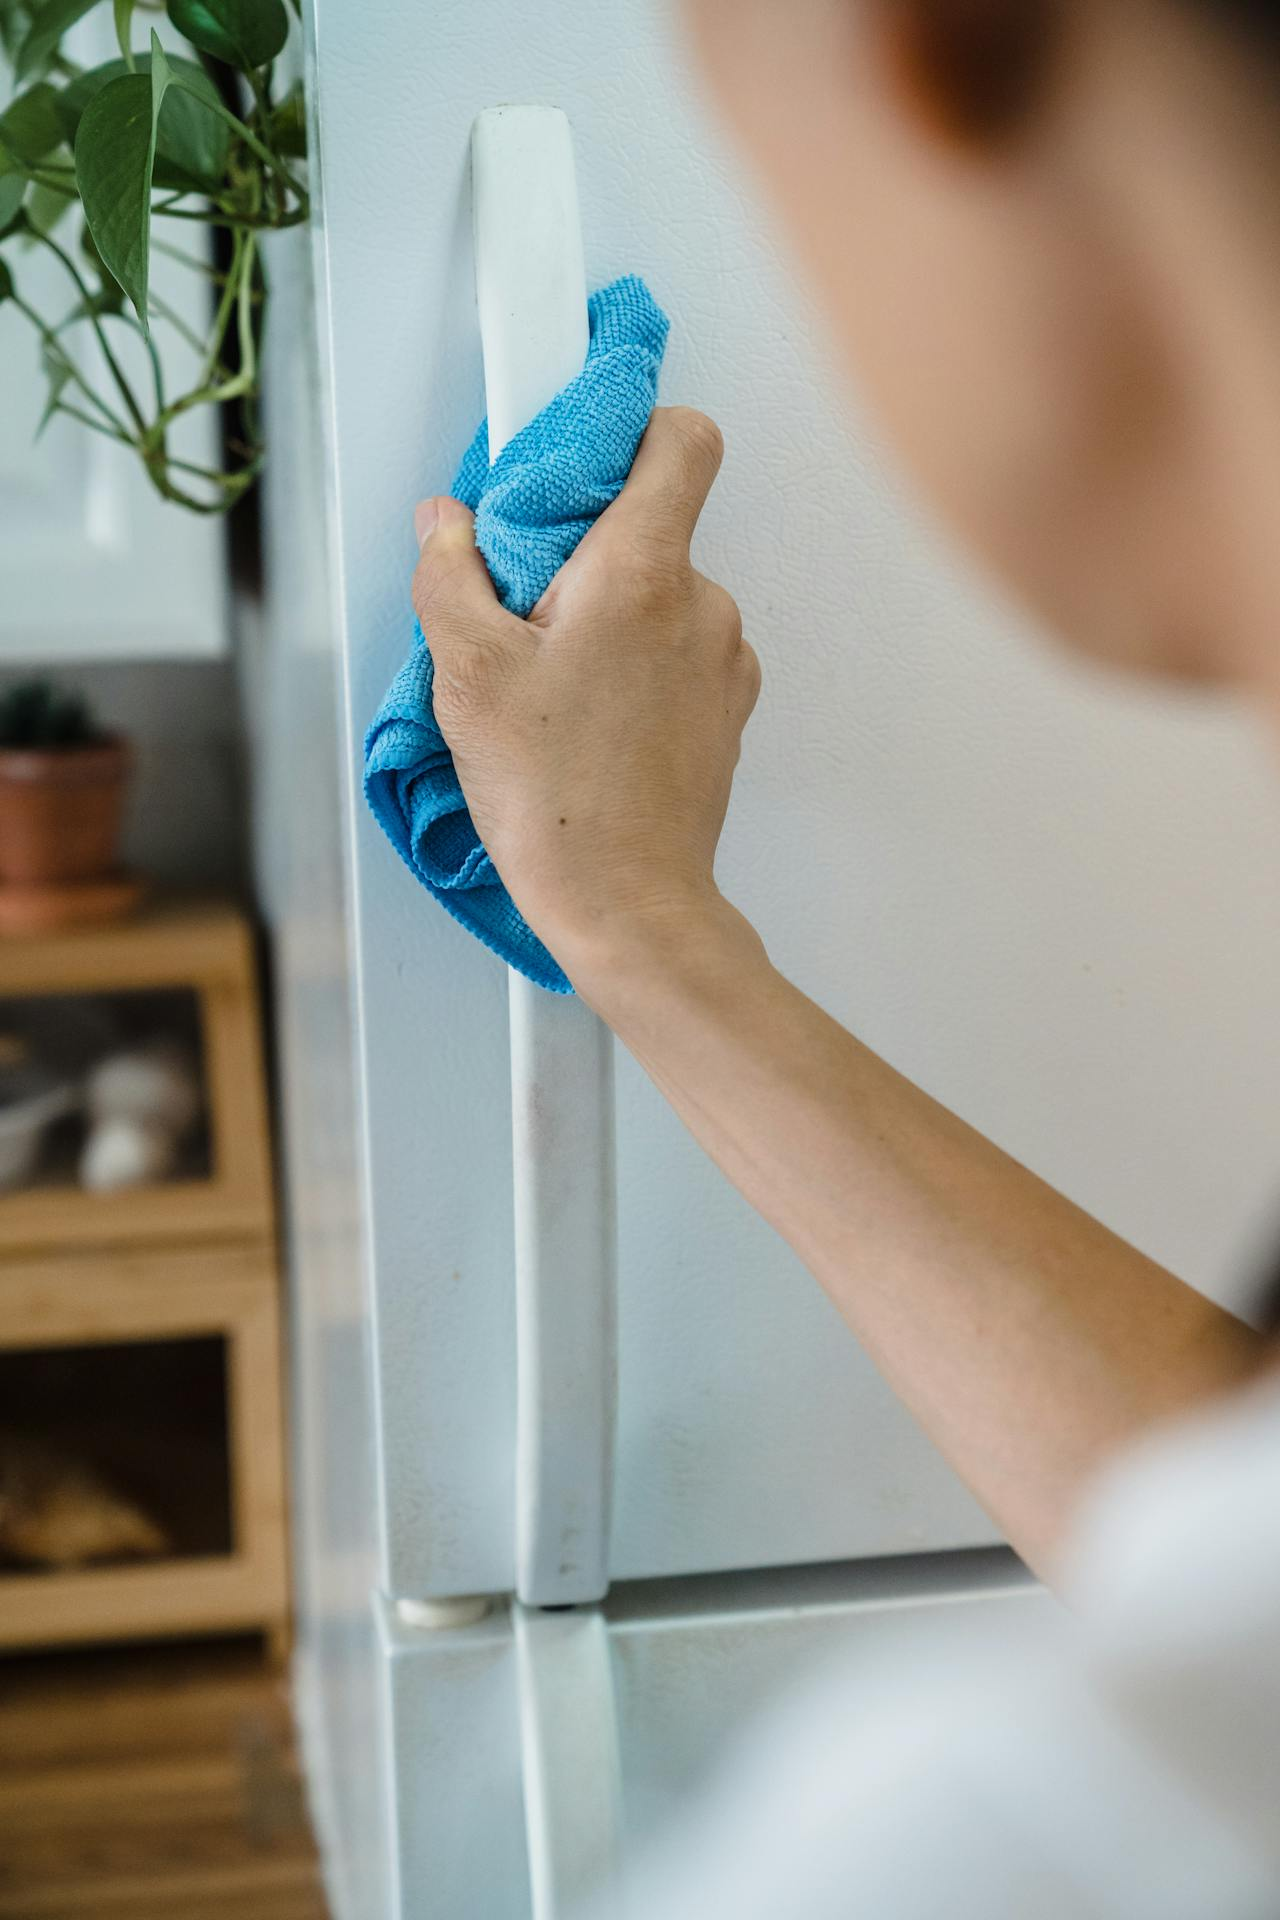
Why They’re Dirty: Handles on appliances in your kitchen witness multi-usage and attract a predominant amount of germs every day. A study found that refrigerator handles have the potential to carry salmonella, E.coli and other bacteria.
Cleaning Strategy:
Everyday Wipe Down: Use an antibacterial cleaner or disinfecting wipes to clean appliance handles daily.
Filthy Faucet Handles
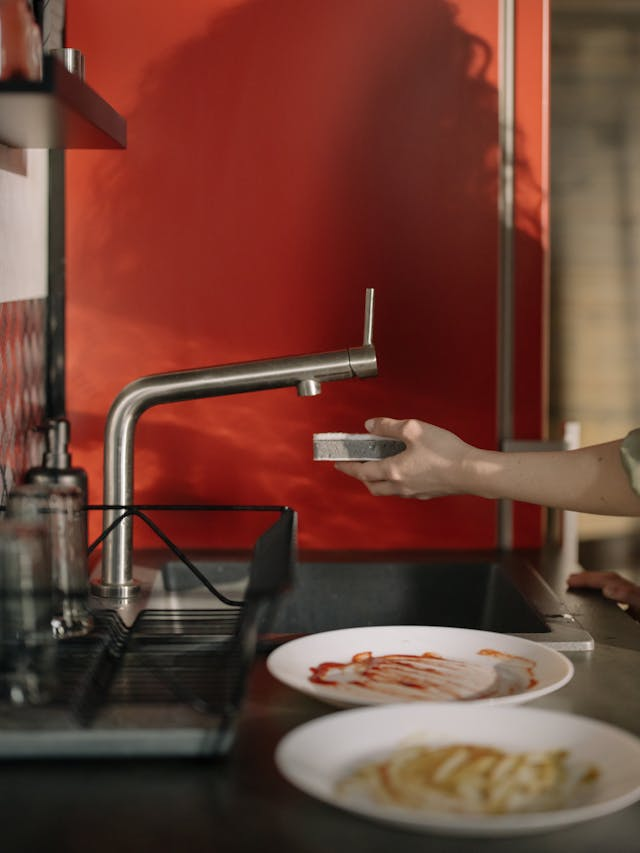
Why They’re Dirty: Just like appliance handles, faucet handles in your kitchen and bathroom are touched repeatedly and can be a breeding ground for germs. In fact, studies have found that faucet handles can harbor more bacteria than toilet seats.
Cleaning Strategy:
Weekly Scrub-down: Use an antibacterial cleaner or disinfecting wipes to clean faucet handles at least once a week.
Contaminated Cutting Boards

Why They’re Dirty: Cutting boards are a common kitchen item that can harbor bacteria if not cleaned properly. Studies have found that plastic cutting boards, especially those with deep grooves, are harder to clean and can retain more bacteria than wooden cutting boards.
Cleaning Strategy:
Sanitize After Use: Wash cutting boards with hot soapy water after each use and sanitize separate cutting boards with a bleach solution or hydrogen peroxide once per
Routine Wipe Down: Use a natural cleaner, like a mixture of vinegar and water, for daily wipe downs. For a deeper clean, remove handles as per manufacturer instructions.
The Overlooked Light Switches
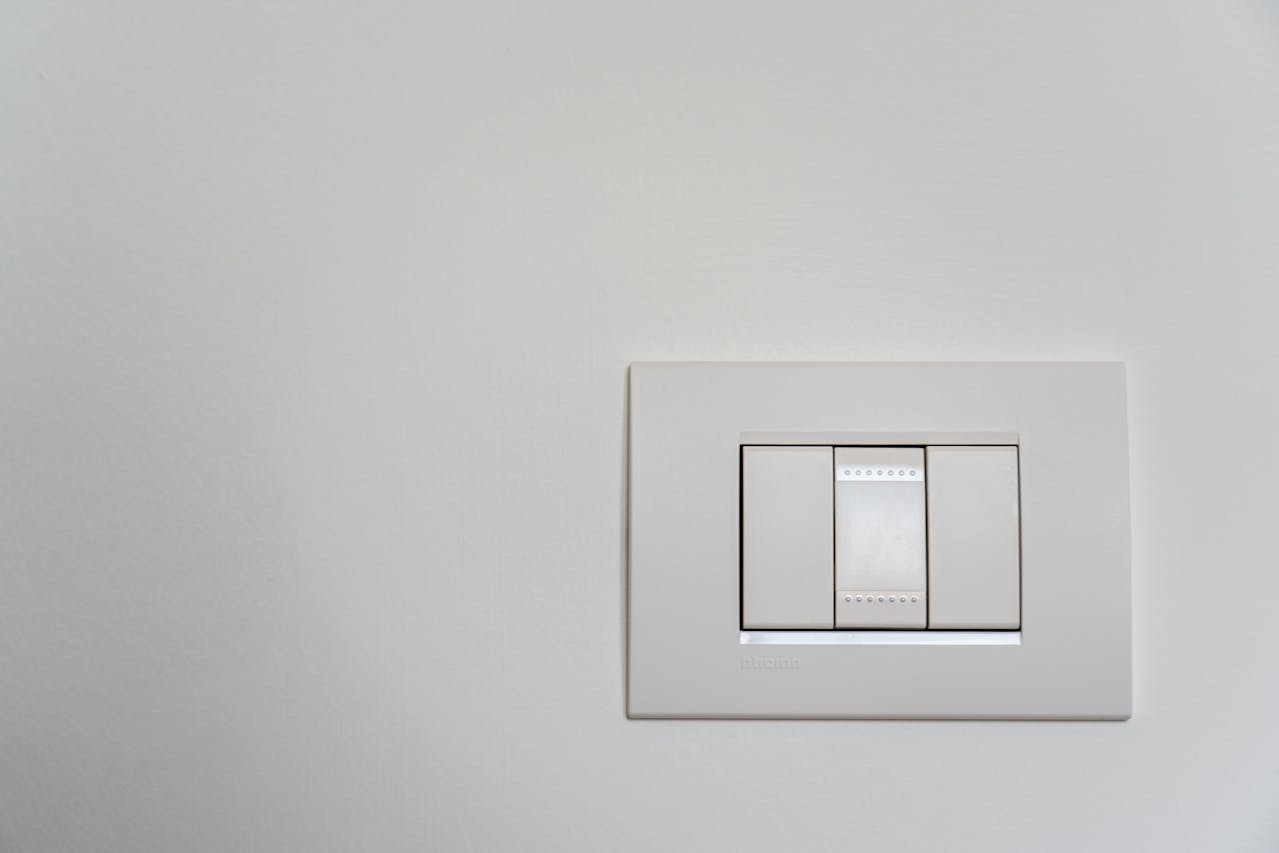
Why They’re Dirty: Light switches are one of the most frequently touched surfaces in your home, and yet, they’re often forgotten during cleaning. This means that bacteria and viruses can easily transfer from dirty hands to light switches, making them a potential hotspot for germs.
Cleaning Strategy:
Monthly Maintenance: Use an antibacterial cleaner or disinfecting wipes to clean light switches at least once a month. For hard-to-reach switches, use a cotton swab soaked in cleaning solution.
Germ-Ridden Cell Phones

Why They’re Dirty: Our cell phones are constantly in our hands, making them a prime spot for bacteria and germs to accumulate. In fact, studies have found that cell phones can harbor more germs than a toilet seat.
Cleaning Strategy:
Daily Disinfecting: Wipe down your phone with an alcohol-based wipe or spray daily to kill
Every Day Counts: Incorporating light switches into your regular wipe down routine with disinfectant wipes can help maintain cleanliness daily.
Inside the Refrigerator
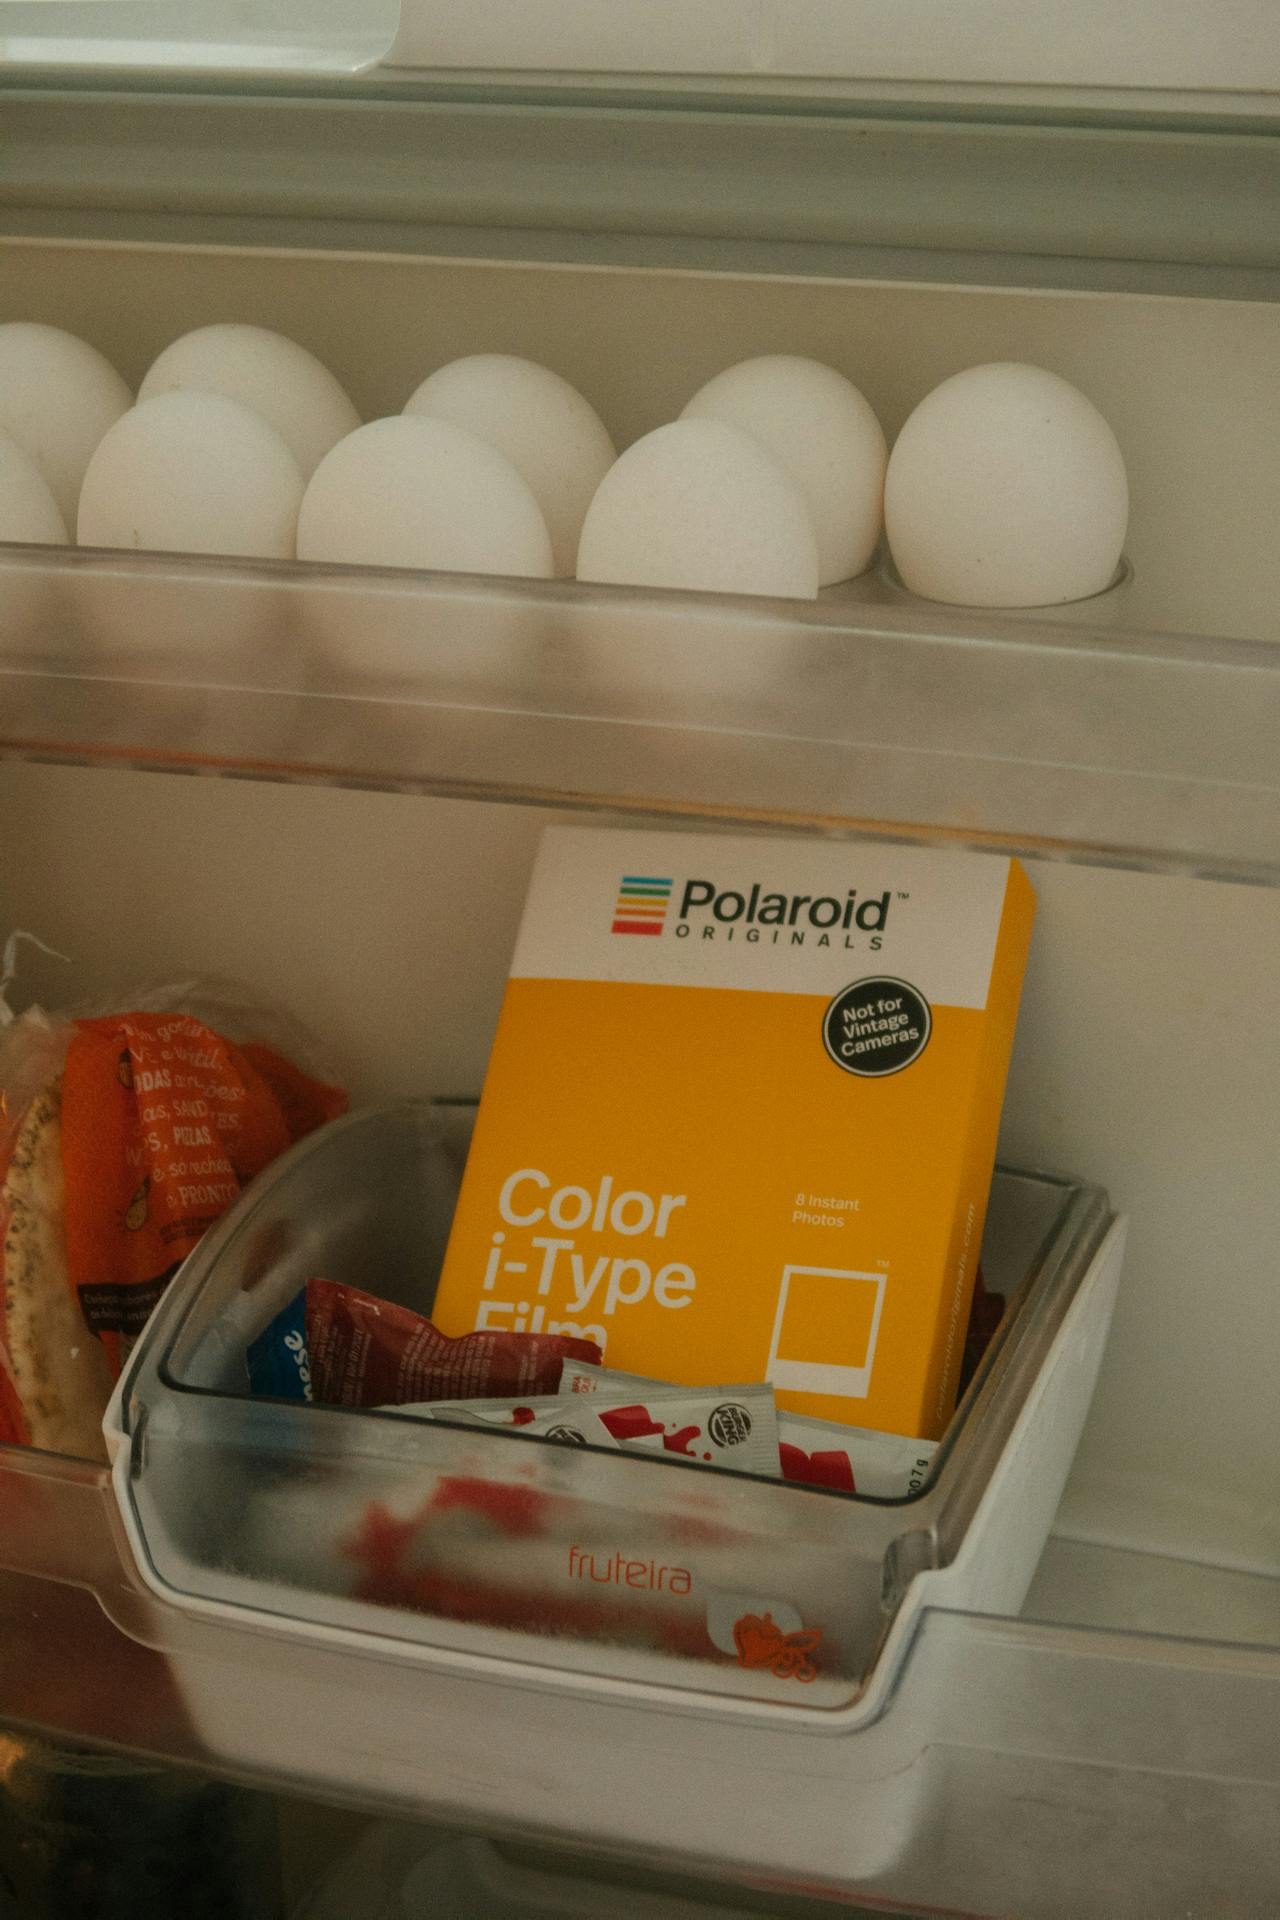
Why It’s Dirty: Spilled and forgotten food items can be a petri dish for various bacteria and mold. These can contaminate your food and even cause illnesses if not cleaned regularly.
Cleaning Strategy:
Weekly Refresh: Set aside time each week to thoroughly clean and organize the inside of your fridge. Remove all items, wipe down shelves with a natural cleaner, and toss any expired or spoiled food.
Organization is Key: Regularly clean and organize the fridge, wiping down shelves with a vinegar and water solution. Keep a plastic bag with a box of baking soda inside to absorb odors.
Neglected Door Handles
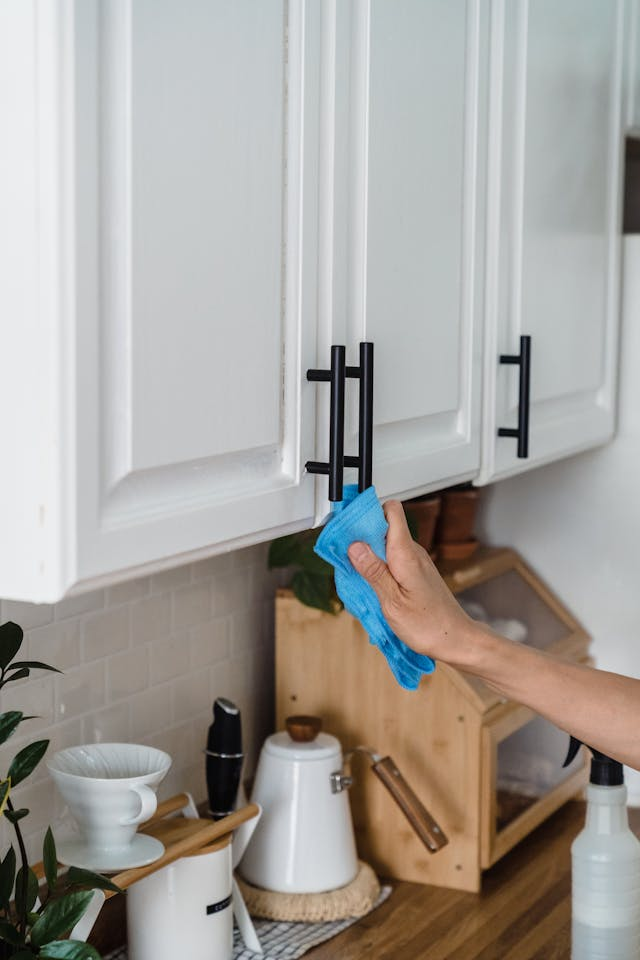
Why They’re Dirty: Just like light switches, door handles are constantly touched and rarely cleaned. They can harbor a variety of bacteria from our hands.
Cleaning Strategy:
Spot Treatment: Keep disinfectant wipes or spray near commonly used doors and make it a habit to give the handles a quick wipe-down daily. This will help prevent the spread of germs to other surfaces.
Dirty TV Remotes

Why They’re Dirty: TV remotes often go unnoticed in the cleaning routine, yet they’re touched by multiple people, kids, guests, and even unknown individuals during gatherings, making them hotbeds for germs.
Cleaning Strategy:
Disassembly: Carefully remove batteries and clean the housing with a disinfectant wipe. Don’t forget to clean the buttons and crevices with a q-tip dipped in rubbing alcohol.
Touchscreen Remotes: Use a microfiber cloth slightly dampened with water or electronic-safe cleaner to remove grime and finger smudges. Avoid using harsh chemicals or too much liquid as it can damage the screen.
Disinfectant Wipes: Use disinfectant wipes to clean the surface of the remote, paying extra attention to the buttons and crevices where dirt can accumulate.
Bi-Weekly Sanitization: To keep your TV remote germ-free, aim for a bi-weekly cleaning session. Use a disinfectant wipe to carefully clean the surface, buttons, and the back of the remote where germs are likely to accumulate. For hard-to-reach areas between the buttons, use a cotton swab dipped in rubbing alcohol. Regular cleaning is crucial, especially after having guests over or during flu season to minimize the risk of infection.
Preventive Measures: Consider using a remote control cover or regularly wiping down the remote with a disinfectant wipe to prevent build-up of germs and dirt. Encourage family members to wash their hands before using the remote control. Additionally, designating one person as the “remote keeper” can help reduce the amount of hand prints and grime on the remote controls. Finally, storing the remote in a clean places in your home is essential.
Around the Toilet Bowl
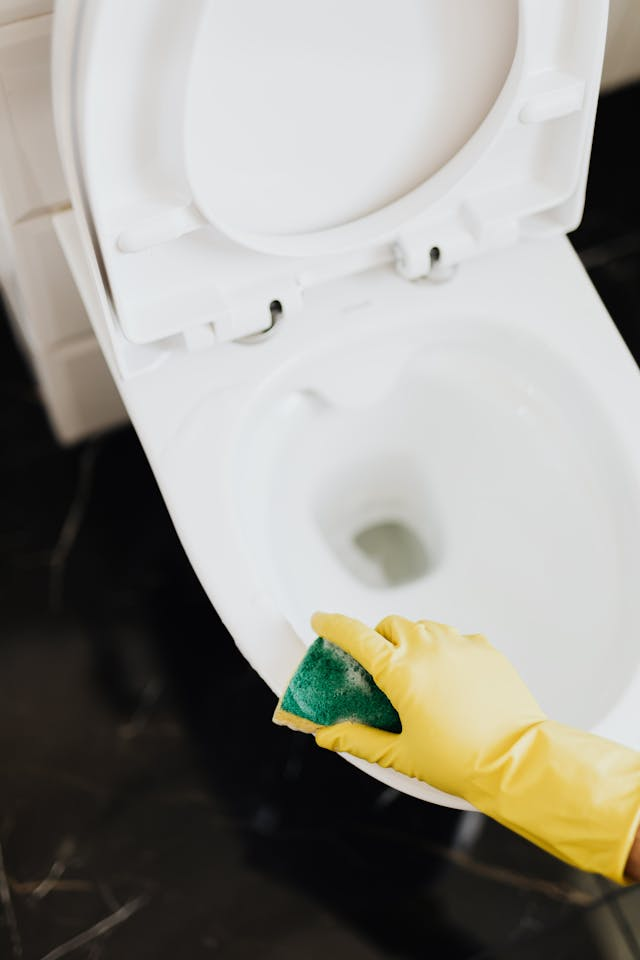
Why It’s Dirty: This area can harbor threatening bacteria like E.Coli and staph. Flushing the toilet creates an aerosol effect that can spread germs around, making this area a breeding ground for dangerous bacteria.
Cleaning Strategy:
Deep Clean Every Two Weeks: Besides giving various places in your home and bathroom a quick cleaning routine each week, aim for a deep clean every two weeks. Use disposable disinfectant wipes and paper towels to avoid cross-contamination throughout the bathroom. Focus
Step-by-Step Clean: Use a toilet brush with toilet bowl cleaner to thoroughly scrub, even under the rim. Wipe down the surrounding area with a disinfectant.
Toothbrush Holder

Why It’s Dirty: It’s the perfect, moist environment for mold and bacteria to flourish, given the consistently damp conditions. Each time you brush and put the toothbrush back in the holder, bacteria can spread and land on the toothbrush holder itself. If left uncleaned, it can lead to toothbrushes becoming contaminated with germs.
Cleaning Strategy:
Daily Rinse: After brushing your teeth, give your holder a quick rinse with hot water to wash away any residual toothpaste or saliva. Make sure to dry it off completely afterwards.
Full Submerge and Clean: Disassemble and soak in hot soapy water. Scrub with a bottle brush, and then periodically soak with warm water and a cap of bleach.
Bathroom Sinks and Faucet Handles
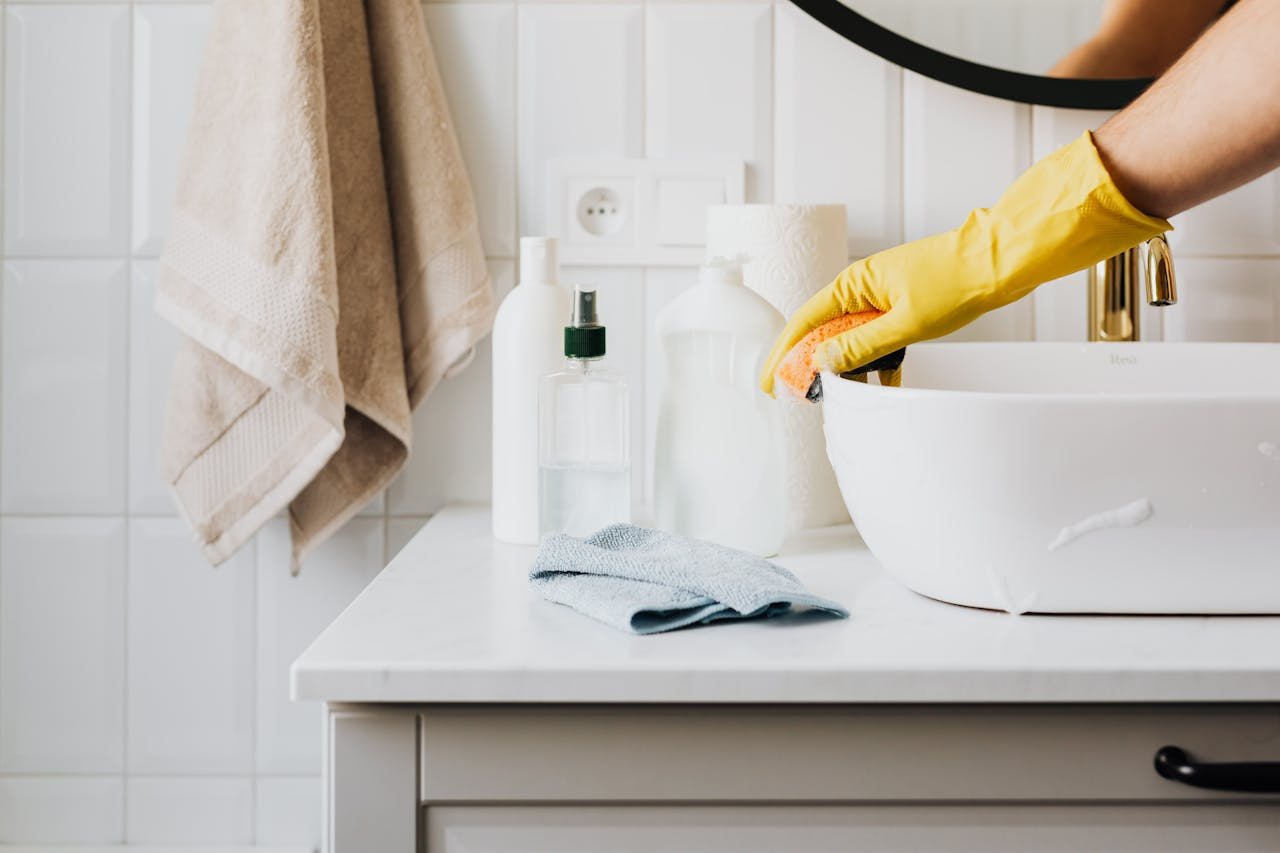
Why They’re Dirty: Moisture and soap scum make for an ideal environment for microbial growth. Plus, faucet handles are constantly being touched with dirty hands, making them a hotspot for germs.
Cleaning Strategy:
Daily Wipe Down: After using the sink, give it a quick wipe down with a disinfectant cleaner. Don’t forget to also clean the faucet handles and any other frequently touched areas.
Deep Clean Every Two Weeks:
In addition to the daily wipe down, give your sink and faucet handles a deep clean every two weeks. Use a disinfectant cleaner and an old toothbrush to scrub away any built-up grime and bacteria. Rinse thoroughly with water afterwards.
Shower Curtain
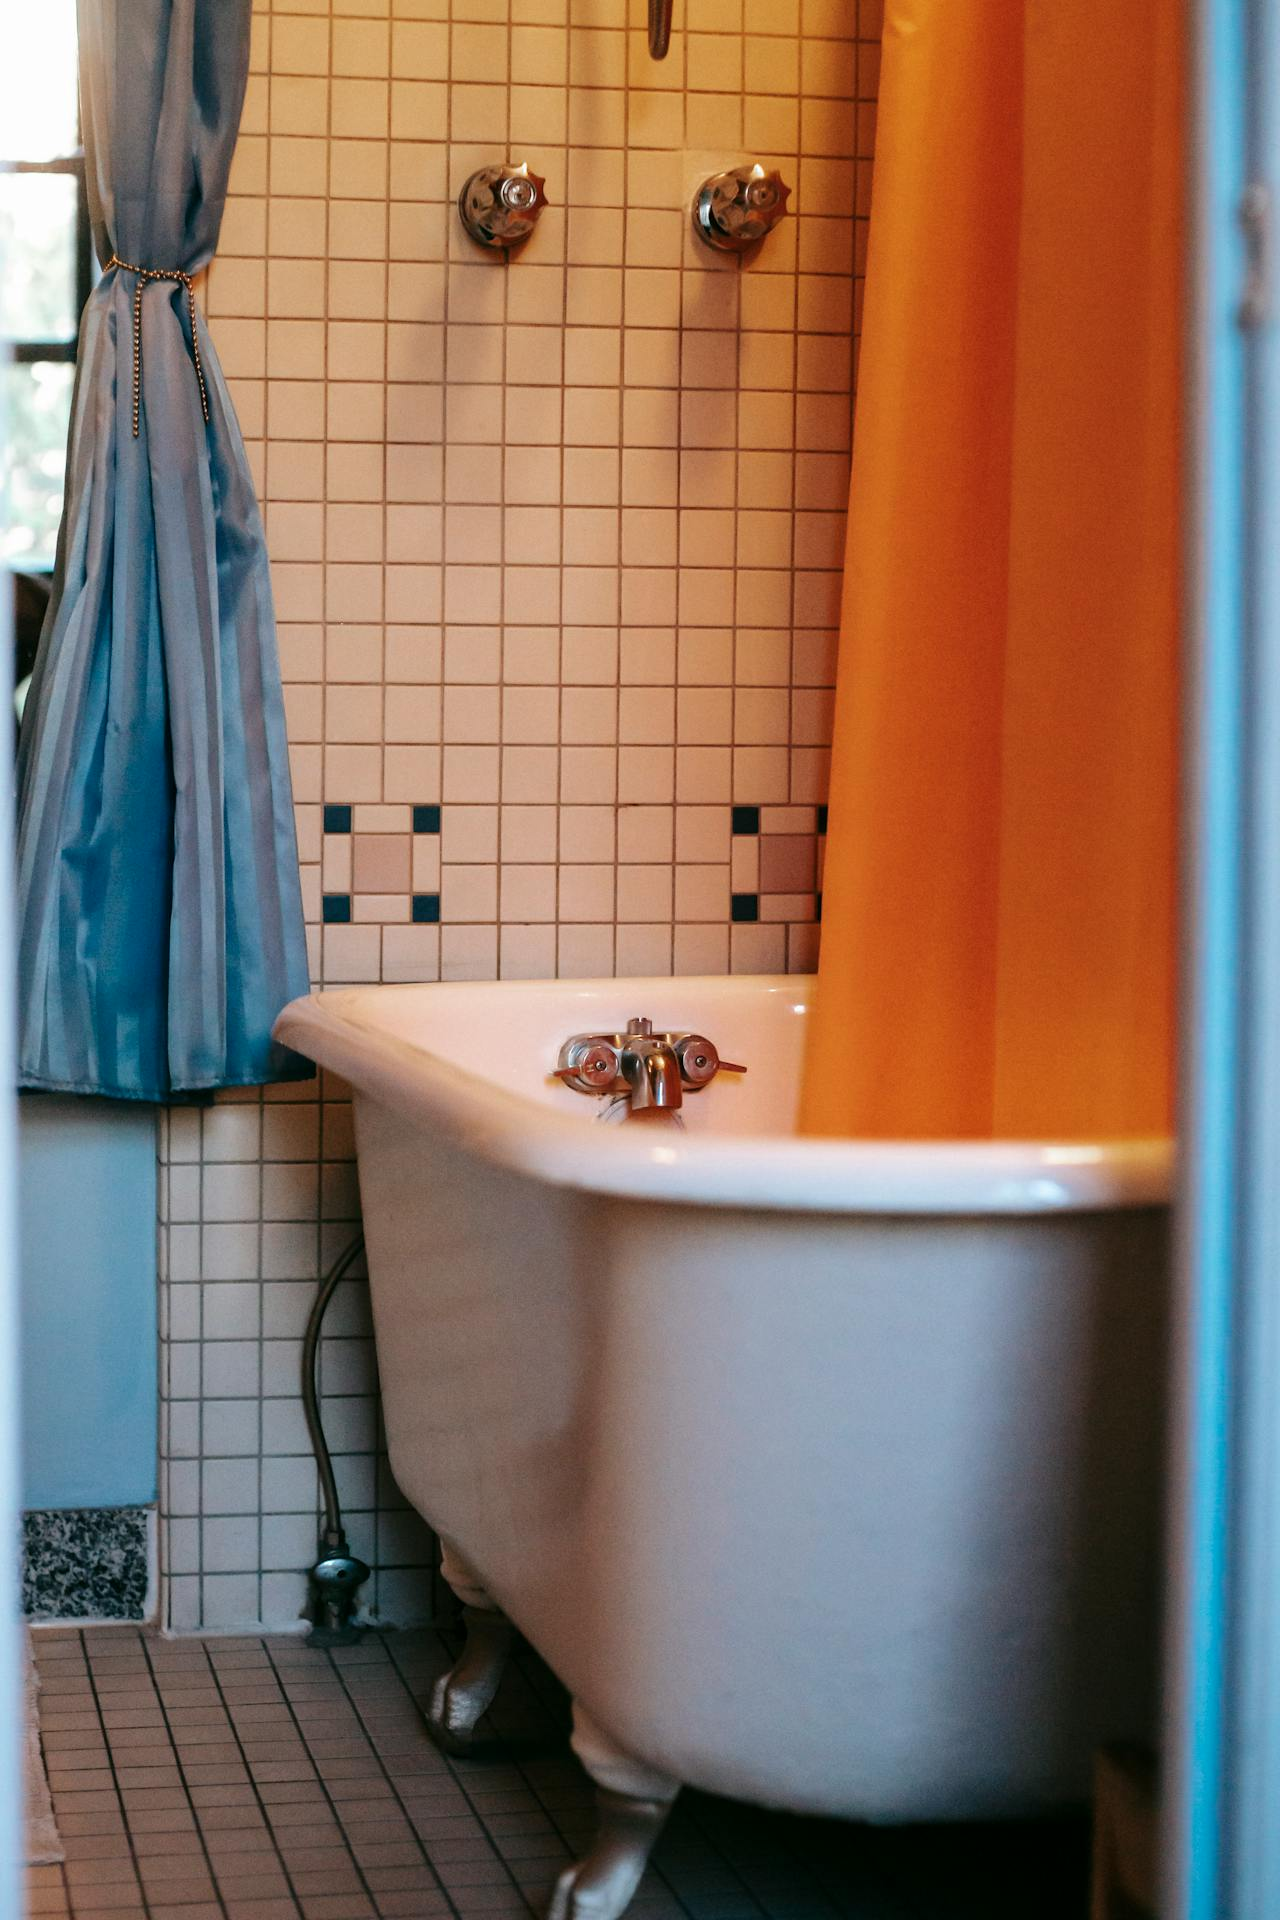
Why It’s Dirty: Moisture from showering can cause mold and mildew to grow on the surface of the curtain. Plus, soap scum and bacteria from our bodies can also make bacteria buildup accumulate on the curtain.
Cleaning Strategy:
Weekly Wash: Remove the shower curtain and toss it in the washing machine with hot water and laundry detergent. Add a cup of vinegar to help get rid of any mildew or mold. Hang it back up to the air dry it completely before using again.
Spot Clean: If you notice any mildew or soap scum build-up on your shower curtain, spot clean it with a mixture of equal parts of vinegar solution and water. Scrub the affected areas with a sponge or cloth, then rinse off with water.
Tile Grout
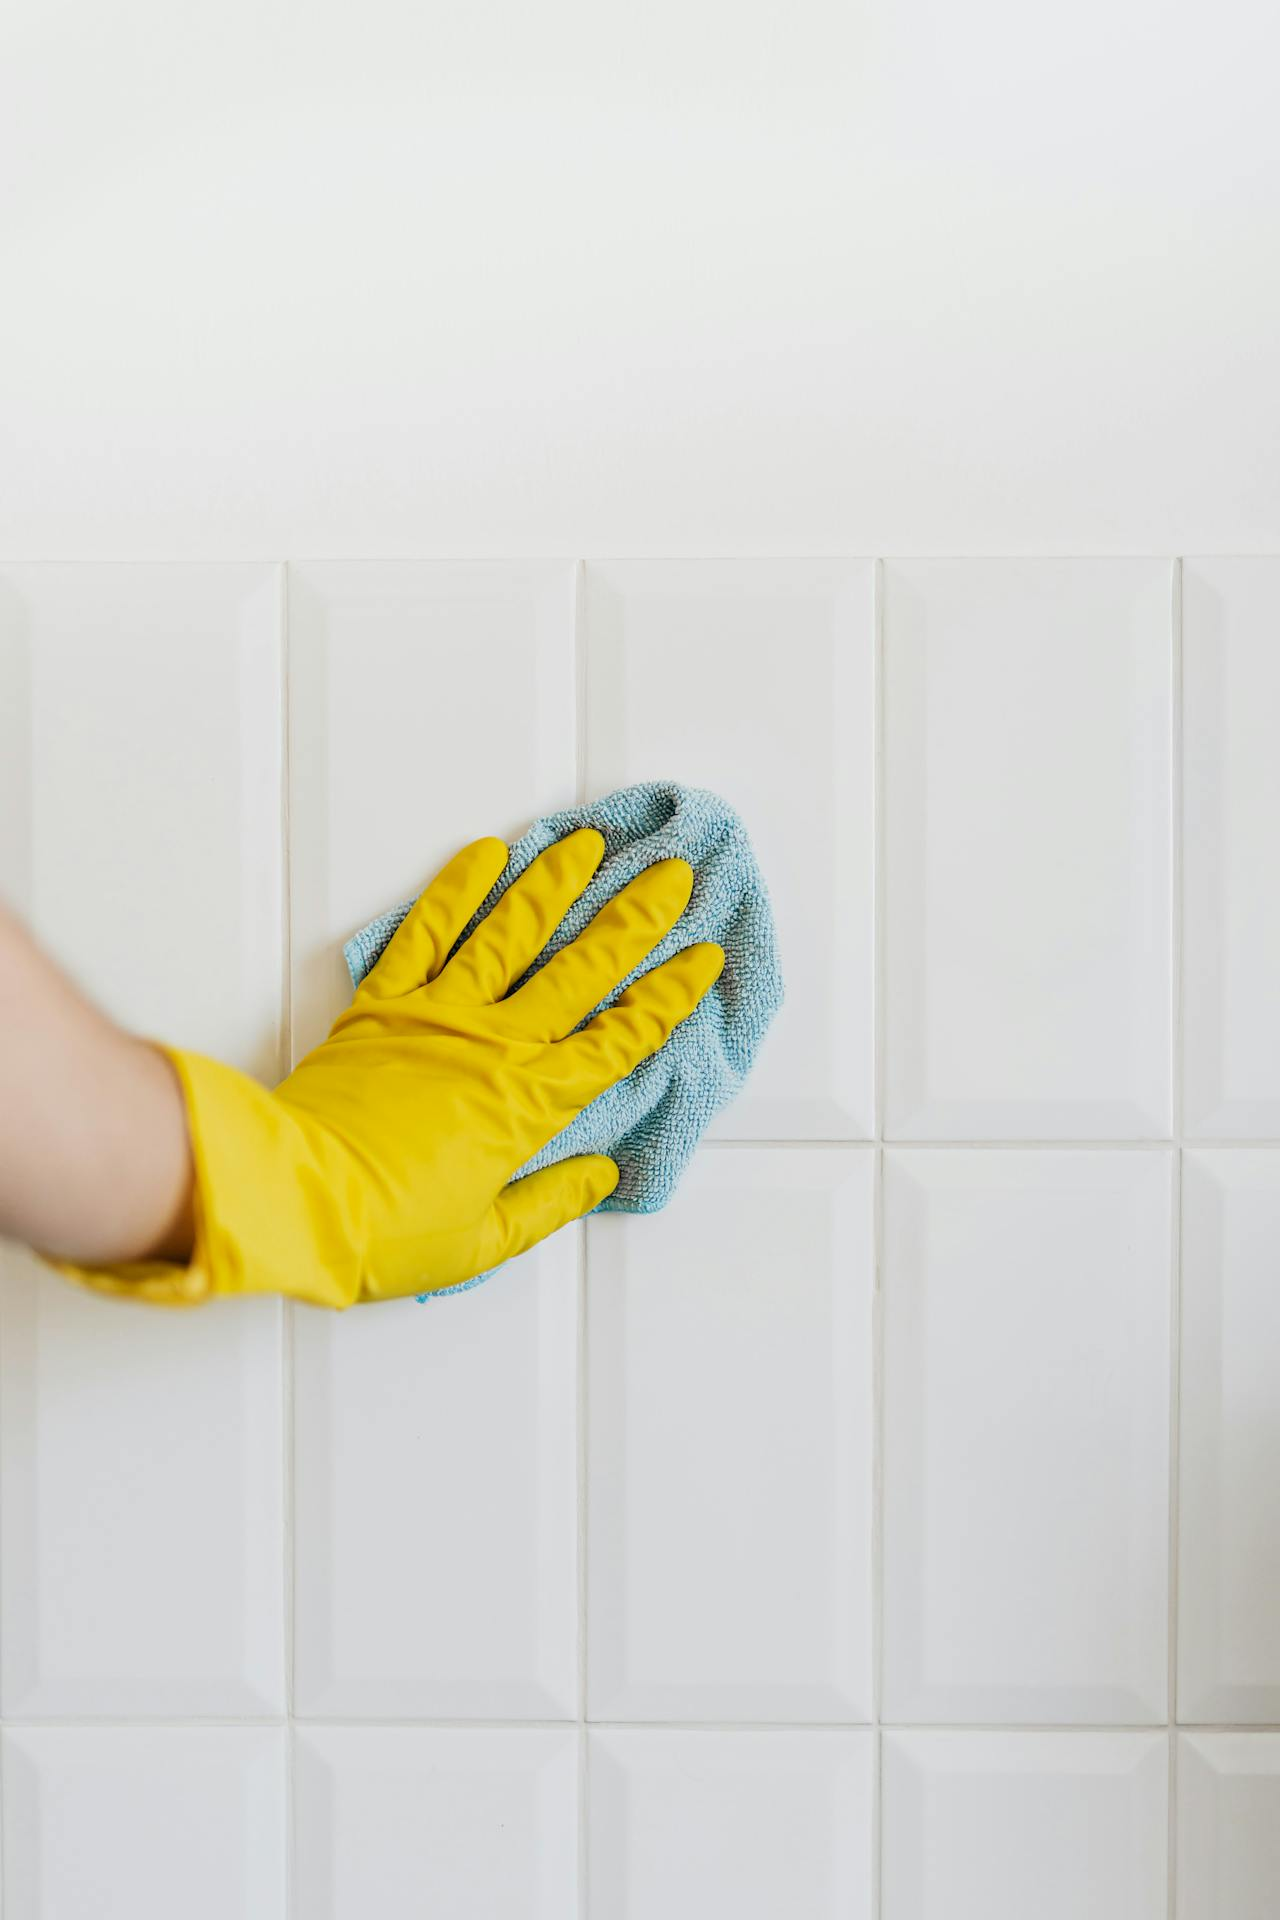
Why It’s Dirty: Grout is porous and can easily absorb moisture and bacteria. This makes it susceptible to mold and mildew growth, especially in damp environments like bathrooms.
Cleaning Strategy:
Regular Maintenance: To prevent build-up of grime and bacteria, clean your tile grout regularly. Use a mixture of equal parts water and vinegar to scrub the grout with a toothbrush or small brush.
Deep Clean Every Few Months: For a deeper clean, use a mixture of baking soda and water to create a paste. Apply it to the grout, let it sit for a a few hours or minutes, then scrub with a brush. Rinse off with water afterwards.
Preventive Measures: To prevent future build-up, consider sealing your grout after cleaning. This will help protect it from moisture and make it easier to clean in the future
Vinegar Assault: Spritz with a vinegar and water solution, scrub, and rinse for a gleaming clean, avoiding the use of abrasive cleaners to prevent damage.
Dust-Laden Lampshades

Why It’s Dusty: These often-neglected items can become major collectors of allergens and dust mites.
Cleaning Strategy:
Vacuum: Use the brush attachment on your vacuum cleaner to gently remove dust from the surface of the lampshade. Be sure to go in different directions to ensure all areas are covered.
Lint Roller Trick: For smaller or delicate lampshades, use a lint roller to roll away any dust and debris.
Preventive Measures: Dust regularly and consider placing a removable cover around the lampshade to prevent dust build-up. Additionally, placing the lamp in an area with less foot traffic can also reduce the amount of the dust buildup that accumulates on the lampshade.
Crumb-Covered Keyboard

Why It’s Dirty: Whether it’s food crumbs or just general dirt and grime, our keyboards are often the frequently overlooked 10 filthiest areas in your home that demand cleaning attention, when it comes to cleaning.
Cleaning Strategy:
Compressed Air: Use a can of compressed air to remove any crumbs accumulate dust or debris from between the keys.
Alcohol Wipes: Dampen a cloth or cotton swab with rubbing alcohol and gently clean the surface of all the grooves on keyboard, being careful not to get any liquid inside the keys.
Preventive Measures: Try to avoid eating over your computer keyboard top, and regularly dust or wipe down the surface to prevent build-up of dirt and debris. Consider investing in a keyboard cover for added protection against spills and crumbs.
Dining Chairs
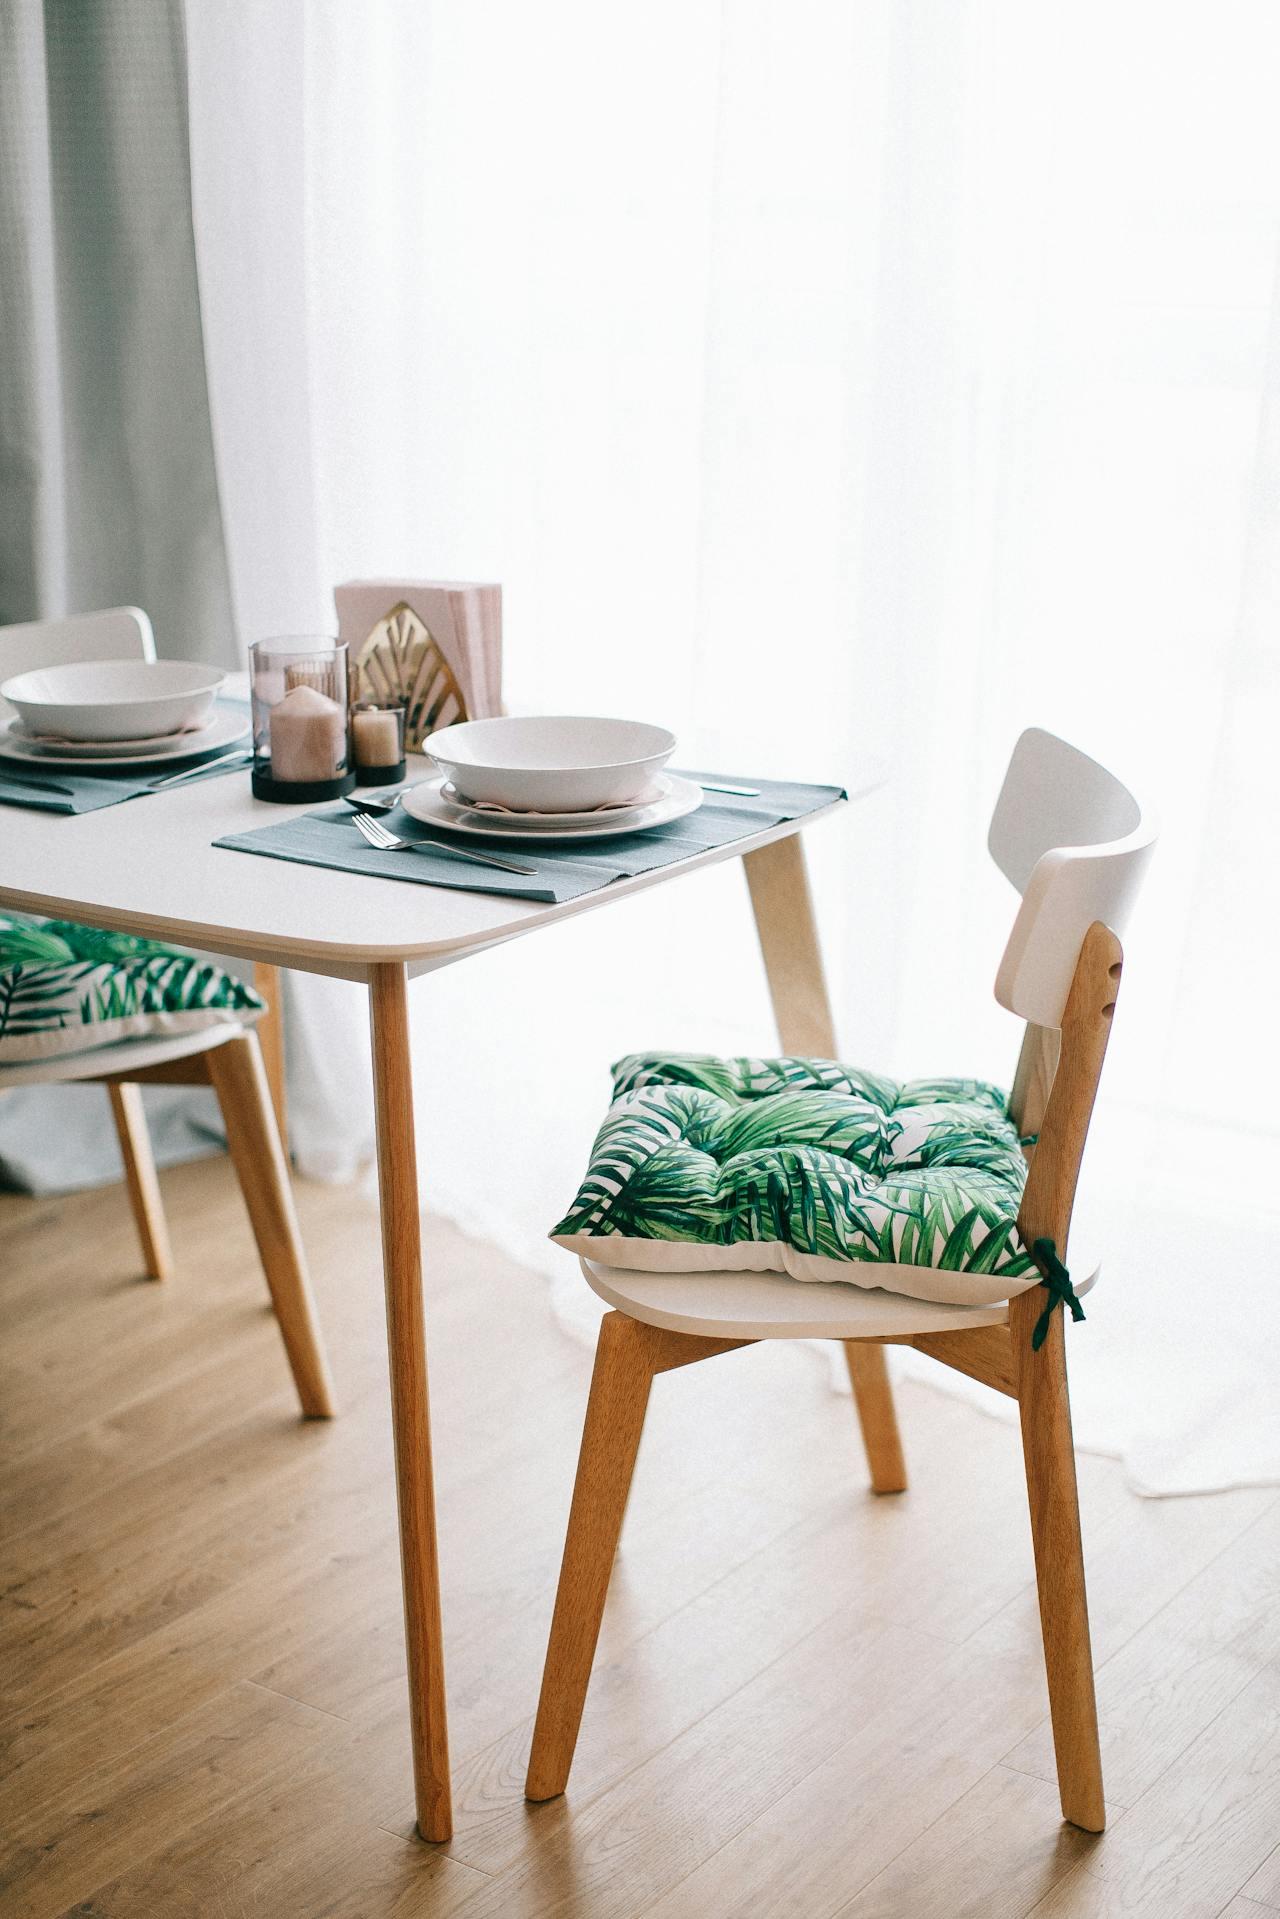
Why They’re Dirty: From pets to kids, dining chairs are often subject to a high traffic of dirty little hands and feet. Food spills and stains are also common culprits.
Cleaning Strategy:
Spot Clean: For small spills, quickly blot the area with a cloth or paper towel to absorb as much of the liquid as possible. Use a mild soap and water solution to gently clean any remaining residue.
Fabric Cleaner: For tougher stains, invest in a fabric cleaner specifically designed for upholstery. Follow the instructions carefully and always do a spot test before applying to the entire chair.
Vacuum Regularly: To remove any dirt or debris that might have accumulated on the surface, vacuum your dining chairs regularly with an upholstery attachment. This will help prevent build-up and keep them looking clean.
Conclusion
In conclusion, it’s important to regularly clean and maintain commonly used items such as remotes and dining chairs to prevent the spread of bacteria and maintain a more overall cleanliness, and hygienic living space. By following these cleaning strategies, you can ensure that these items remain in good condition and free from dirt and grime. Remember to always use gentle methods and products when cleaning delicate surfaces, and regularly incorporate these tasks into your regular cleaning routine. for best
Maintaining a, overall cleanliness, and healthy living environment is essential for our well-being. By targeting these often overlooked items with regular cleaning, we can significantly reduce the presence of harmful germs, dust, and allergens in our homes. Adopting these simple cleaning strategies ensures a safer, fresher, and more inviting space for ourselves and our loved ones.


